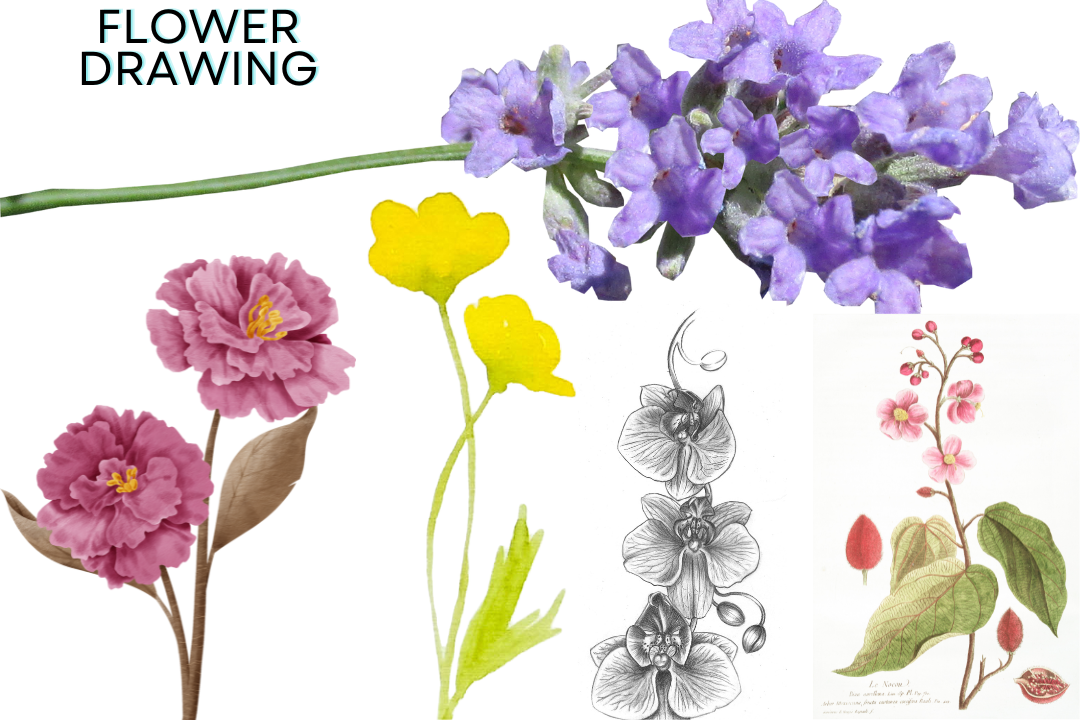
Introduction:
Painting flowers has been a beloved artistic pursuit for centuries, capturing the delicate beauty and intricate details of nature’s most exquisite creations. Whether you are an experienced artist or a novice sketcher, the art of drawing flowers offers endless opportunities for creativity and expression. In this step-by-step guide, we’ll explore techniques and tips to help you bring these flowers to life on paper.
Gather your materials:
Before diving into your flower painting, it’s essential to gather the right materials. you’ll need:
Drawing Paper: Select smooth, heavyweight paper that can withstand pencil and ink without wrinkling.
Pencils: A range of graphite pencils from 2H to 6B will allow you to achieve different tones and textures.
Eraser: A kneaded eraser is ideal for lifting graphite without damaging the paper.
Sharpener: Keep your pencils sharp for precise lines and details.
Reference: Collect photographs or real flowers to study their shapes, textures and colors.
Observational Sketch:
Start by looking closely at your chosen flower. Note its overall shape, the arrangement of the petals, and any unique features such as veins or stamens. Use light, gestural lines to outline the basic outline of the flower, focusing on capturing its proportion and symmetry. Don’t worry about perfection at this stage – your initial sketch is a rough guide for later refinement.
Building Layers and Textures:
Once you have the basic outline, start adding layers of detail to your drawing. Use a range of pencil grades to create depth and dimension, shading darker areas where shadows fall and leaving lighter areas to suggest highlights. Pay attention to the direction of the petals and the flow of the curves, using hatch marks and cross-hatching to show texture and form.
Pay attention to the composition:
Consider the structure of your drawing as you work. Place the flowers within the frame, thinking about balance, symmetry and negative space. You can choose to draw a single flower or create a larger arrangement with multiple flowers and leaves. Experiment with different compositions until you find one that looks pleasing and harmonious.
Adding color:
While traditional flower paintings are often rendered in graphite, you can also experiment with adding color to your artwork. Colored pencils, watercolors or markers can be used to add vibrant colors to your drawings. Start by laying down light layers of color, gradually increasing the intensity and adding highlights and shadows for depth.
Refinements and details:
As you get closer to completion, take time to refine your drawing and add final details. Use a sharp pencil to define edges, enhance texture, and add intricate elements like pollen or dew drops. Pay close attention to contrast and fine-tune areas that may need adjustment to achieve a better finish.
Experiment and enjoy:
Most of all, don’t be afraid to experiment and let your creativity flow. Try painting different types of flowers, explore alternative techniques and embrace imperfections as part of the artistic process. Remember that each picture is a unique reflection of your vision and style.
Conclusion:
Making flowers is a rewarding artistic endeavor that allows you to connect with the natural world and explore your creative instincts. By following these steps and practicing regularly, you will develop the skill and confidence to create stunning floral artwork that captures the beauty and essence of these charming flowers. So gather your materials, find inspiration in nature and let your imagination blossom on the page. Happy drawing!