Introduction:
Jellyfish have long attracted the attention of artists around the world with their supernatural beauty and adorable movements. Painting these mesmerizing creatures allows artists to explore flowing lines, delicate textures, and vibrant colors. Whether you’re a beginner or an experienced artist looking to hone your skills, mastering the art of drawing jellyfish can be a rewarding endeavor. In this comprehensive guide, we’ll go through the step-by-step process of creating stunning jellyfish drawings in detail.
Step 1: Gathering Inspiration
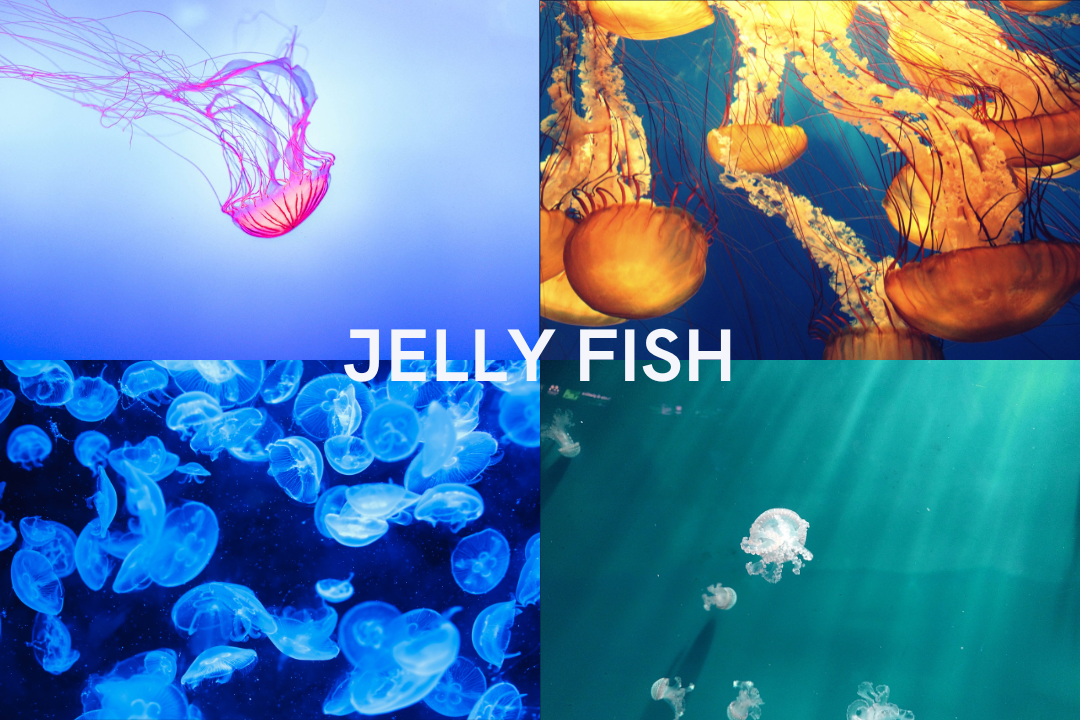
It is necessary to be inspired before putting pencil to paper. If possible, spend some time studying photographs, videos, or observing jellyfish in the aquarium. Pay attention to their unique shape, intricate patterns, and the way they move in the water. Note the diversity of jellyfish species, each with their own distinctive characteristics, from the translucent beauty of the Moon Jellyfish to the vibrant colors of the Lion’s Mane Jellyfish.
Step 2: Sketching the Basic Form
Start by lightly sketching the basic form of the jellyfish using a pencil. Start with a simple oval or bell shape for the body and add tentacles flowing down. Remember to keep your lines loose and fluid while capturing the graceful movement of the jellyfish. Experiment with different compositions and positions to find one you like.
Step 3: Adding Details
Once you are satisfied with the overall shape, start adding details to bring your jellyfish to life. Note the intricate patterns and textures on the jellyfish’s bell and tentacles. These may include radial lines, dots, or even small structures called nematocysts. Use references to guide you in accurately drawing these features while adding your artistic flair.
Step 4: Refining the Composition
As you continue to refine your drawing, pay attention to the composition and balance of the elements. Consider the position of the tentacles, direction of movement, and how they interact with the surrounding space. Adjust proportions and sizes as needed to create a harmonious composition that captures the viewer’s attention.
Step 5: Adding Color and Texture
Now it’s time to add color and texture to your jellyfish drawing. Consider the transparency and iridescence of jellyfish, which can vary depending on the species and lighting conditions. Water colors or colored pencils are excellent mediums for capturing the vibrant colors of jellyfish while maintaining a sense of transparency. Layer colors to create depth and add highlights and shadows to add dimensionality.
Step 6: Final Touches
With the key elements in place, take a step back and evaluate your drawing. Make any final adjustments to ensure harmony and balance. Add any additional details or highlights to accentuate certain areas and create visual interest. Once you are satisfied with the result, consider signing your artwork to complete the piece.
Conclusion:
The depiction of jellyfish offers artists a captivating journey into the realm of fluidity, texture and color. By following these step-by-step guidelines and letting your creativity flow, you can create stunning jellyfish pictures that mesmerize viewers and create a sense of wonder. Whether you’re an experienced artist or a novice, experimenting with drawing jellyfish can be a fulfilling and enriching artistic pursuit. So grab your pencils, dive into the depths of inspiration and let your imagination soar as you master the art of drawing jellyfish.

